The spider plant, formally known as Chlorophytum comosum, is a traditional houseplant commonly found in Victorian-era homes and continues to be a popular choice for homeowners today.
Spider plants are versatile plants that can be placed almost anywhere in the home. Whether they sit in a pot or hang in a basket, these plants look great in any room.
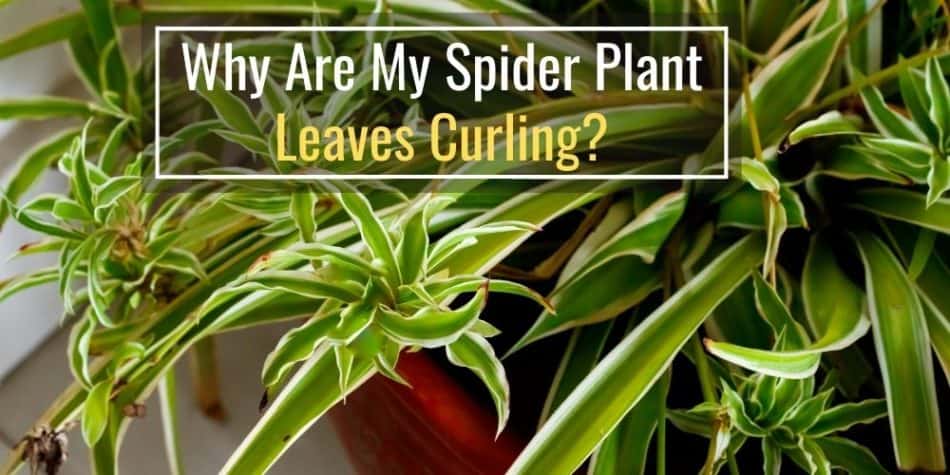
Spider plants produce long and thin leaves. These leaves feature brilliant green tones with white accents in the middle.
Mature spider plants can produce white flowers and tiny spider-shaped buds, which is how this plant received its name.
However, spider plants do need certain conditions to be met otherwise the leaves may start curling.
The curling leaves issue will become especially noticeable on some of the wider leaves of the spider plant or the leaf tips.
The good news is that curling leaves can be fixed on a spider plant if you provide the plant the conditions it needs.
Some of the most common issues that cause the leaves of a spider plant to curl include:
- Lack of water
- Direct sunlight
- Poor drainage
- Aging leaves
- Lack of space for growth
- Pests entering the plant
Lets dive deeper into each of these common issues and their solutions so you can uncurl the leaves of your spider plant.
Common Issues That Cause Spider Plant Leaves to Curl
Spider plants are great houseplants that will start to show signs of stress through curling leaves when their conditions aren’t met.
Thankfully curling leaves is an early indicator that something is wrong with your spider plant so let’s cover the most common issues.
1. Lack of Water Causes Spider Plant Leaves to Curl
The most common issue that causes a spider plant’s leaves to curl is underwatering.
Spider plant’s leaves will begin to curl in order to preserve the moisture that the plant still has when it experiences a drought.
To fix an issue of underwatering, simply water the plant when the soil dries out. Following these steps on when the water a spider plant.
When To Water A Spider Plant
Follow these steps in order to determine when to water a spider plant:
- Insert your index finger into the soil 1 to 2 inches deep
- Feel for moisture
- Water if the soil is dry
- Do not water if the soil is wet or moist
The best part of this method is you will notice that the soil dries out faster in summer than it does in winter. So this will change the watering frequency based on the spider plant’s water needs.
Keep in mind that in winter, this plant goes dormant. This means the spider plant rests during the winter where all physiological processes are slowed down and reduced, so the plant will need less water.
2. Spider Plant Leaves Can Curl Due to Excess Direct Sunlight
Another common problem that can cause a spider plant’s leaves to curl is too much direct sunlight.
Spider plants prefer to receive bright indirect sunlight. However, a few hours of direct sunlight a day shouldn’t cause any issues for a spider plant.
This means a west or east facing window are great windows for spider plants.
However, if there’s a sunny location or a south facing window that you want to place your spider plant then you need to dim the brightness of the light.
The best way to do this is by using a sheer curtain.
surrounding your plant entails being exposed to direct sunlight. The intense heat from sunlight can burn the leaves and produce brown spots. The plant will also become dehydrated due to the excess sunlight.
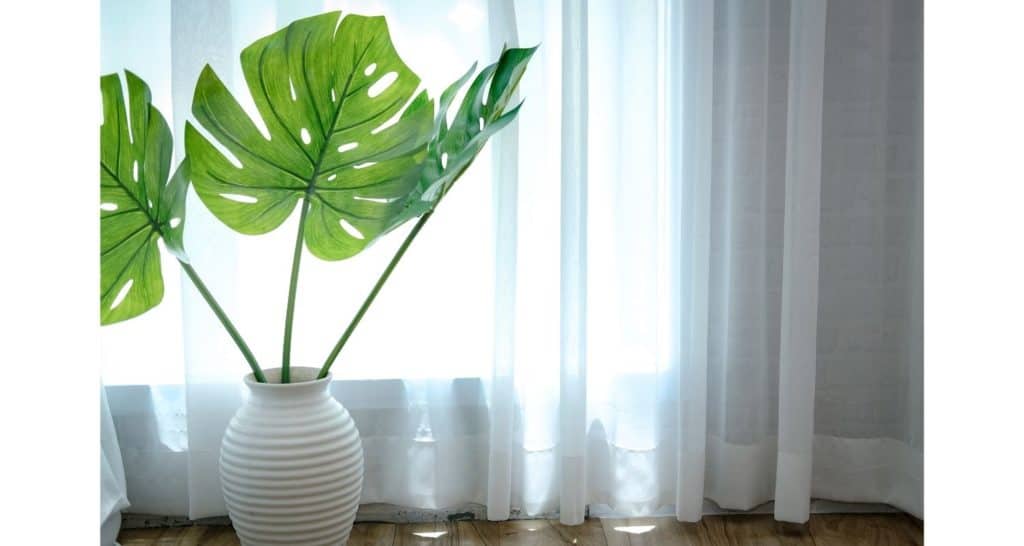
Hang A Sheer Curtain To Transform Direct Sunlight Into Bright Indirect Light
If the spider plant is receiving too much direct sunlight or you have a perfect spot for your rubber plant but it’s near a south facing window then you can hang a sheer curtain.
The sheer curtain will dim the sunlight’s intensity and transform the direct sunlight into bright indirect light.
Sheer curtains are transparent curtains that allow in a fair amount of light while blocking direct sunlight.
Most indoor houseplants thrive in indirect sunlight so this is a great option if you want to place other types of plants near the sunny south facing window.
Not to mention sheer curtains add a bit of privacy. Sheer curtains can be found on amazon in all colors and sizes.
3. Tap Water With Fluoride Causes Spider Plant Leaves to Curl
Spider plants are beginner friendly plants that will survive on tap water.
However, some tap water may be too “hard” or filled with too many additives that will stress the spider plant. Fluoride and other minerals may make it difficult for the spider plant’s roots to absorb the water and nutrients it needs from the soil.
Use Spring Or Filtered Water
The best way to test if tap water is the issue is by watering the spider plant with filtered or spring water.
If the spider plant’s leaves uncurl after a few days then the tap water was the issue.
If the spider plant’s leaves are still curled then look into some of the other common issues below.
4. Spider Plant Leaves Curl When the Drainage Is Poor
While your spider plant will need enough water to stay hydrated, excess water can cause serious issues.
Poor drainage will cause the plant to weaken and wither. The first signs of poor draining soil or overwatering is curling leaves before more severe issues develop.
Poor draining soil can lead to root rot, which is where the plant’s root actually rot. When the roots rot, the plant will be unable to absorb water or nutrients from the soil needed to survive.
Overtime a plant that develops too much root rot will die.
Use Pots With Drainage Holes And Well Draining Substrate
The best solution to any issue of poor drainage is to ensure that the pot has a drainage hole and that the substrate drains thoroughly.
Do not only use top soil from the garden to fill a pot. Garden soil will not drain fast enough to prevent root rot from developing with potted plants.
Make sure to use potting soil that contains coco coir or peat moss, pumice, and some fertilizer. This will ensure that the substrate can retain some moisture while still allowing the roots to properly dry out in between waterings.
5. Spider Plant Leaves Curl When the Space For Growing Is Limited
It doesn’t take much for a spider plant to grow well. However, a spider plant can outgrow its original pot overtime.
When a spider plant outgrows its pot and is not repotted or transplanted, then the spider plant’s leaves may curl. Once again the spider plant is experiencing stress and the result is curled leaves.
Another common sign that your spider plant is outgrowing its pot is when you start seeing the roots emerge from the drainage hole.
Repot Spider Plants Once A Year
A good habit is to repot or transplant a spider plant every year. This way the plant can get fresh substrate or soil and can be placed into a slightly larger pot.
Not to mention this will give you a chance to inspect the roots to ensure that there aren’t any issues like root rot developing.
When repotting a spider plant, gently shake or brush off any old substrate before placing the plant into the new pot. This will ensure that the spider plant is receiving as much fresh substrate or soil as possible.
6. Spider Plant Leaves Curl When They Get Old
If you have a more mature spider plant then some of the leaves may begin to curl due to old age.
A part of the natural cycle of life is allowing the older leaves to fall off in order to make room for new growth.
So if the older leaves of a mature spider plant are curling then this is perfectly normal.
However, if all the leaves including the newer leaves begin curling than the spider plant is experiencing stress.
7. Pests That Trigger Curling Spider Plant Leaves
Your spider plant may have curling leaves as the result of a pest infestation.
Aphids, scale insects, and various other pests might call your spider plant home. These pests can drain the nutrients from the leaves, causing them to curl and die off.
The worst part about pests is that they can appear at random, and it is hard to predict when they might impact your plants.
Inspecting And Eliminating Pests
To eliminate these pests, inspect the underside of the leaves and the center of the spider plant where all the leaves emerge.
You can eliminate a small infestation by treating your spider plant with neem oil; however, quarantining this plant away from other healthy plants prevents further infestation and damage to other plants.
Another solution is to use homemade or commercial insecticidal sprays to kill the pests
Fortunately, there is a way to make homemade insecticidal soap that is kid and pet-safe.
View this guide to learn how to make your own homemade insecticidal soapy spray.
How To Care For Your Spider Plant and Prevent Curling Leaves
You can keep your spider plant leaves from curling if you take proper care of your plant. Here are a few things you can do to keep your spider plant safe and healthy.
Watering
You can water your spider plant once a week, although you will likely need to water it twice a week during the summer months or when it is warm outside. Regular watering ensures your plant will remain hydrated.
Always use purified or distilled water when watering your spider plant. Keep the water at room temperature to prevent shock.
Use the Proper Soil
Your spider plant will grow well in soil that can drain fast. Sandy soils are ideal, as they allow water to drain faster. Spider plants can adapt well to various soils, but anything that drains better is ideal.
Proper Storage
Keep your spider plant in the right environment so it can safely grow. You can use these points when figuring out where you’ll store your plant:
- Keep your plant about a foot from a south-facing window during the spring or summer.
- Add a humidifier in any indoor spaces where your plant will appear.
- Keep the temperature in the plant’s environment from 50 to 80 degrees Fahrenheit or 10 to 27 degrees Celsius.
- You can place your spider plant outdoors if you allow for deep shading during the daytime. The temperature and humidity should be comfortable.
Move Your Plant When It Grows
You can move your plant to a new container after it outgrows its old one.
You must add a new potting medium and produce enough drainage holes around your plant container. It should be easy to move the entire plant structure into a more massive container, but you can divide the root ball into multiple sections and add new potting materials to each part if the plant is too large.
Trim Dead Spots
Always trim whatever dead spots you find around your spider plant leaves. You can use garden shears to shorten these spaces. The plant will use its nutrients to help grow healthy leaves.
Remove Pests With the Right Materials
The last point for treating your spider plant leaves involves removing any pests that might appear. You can use a cotton swab with rubbing alcohol to clean off any pests. You can also spray neem oil or a homemade soapy spray on the leaves once a week to prevent those pests from returning.
Final Thoughts
Check on how well your spider plant is growing every few days. While the plant is resilient, it will grow better when you occasionally check in on the plant and resolve any issues early on.
Be sure you look at where you’re placing your plant and that you water it when necessary. Your spider plant will let you know if it has any issues otherwise it will grow big and healthy.
Before you know it, you’ll have some spider buds that you can use to start new spider plants.